Auto Update
PROMAS users add online owner, tenant, and vendor profiles through the Sync and Auto Update process. Enable Auto Update through Configuration - System Options. Auto Update automatically adds and updates online profiles during the HomeRentals.net Control Panel logon process.
A user can temporarily disable Auto Update by removing the mark beside the "Updates option on the Control Panel logon screen (Figure 21a). Disabling this option will cause the system to skip the automatic update for the current Control Panel session. However, it is possible that another HomeRentals.net system user in the office will trigger Auto Update when initiating a separate Control Panel session.
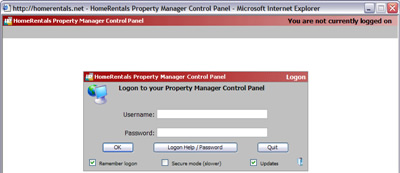
Figure 21a
As part of the Auto Update process, an update report is displayed in the Updates and Alerts section of the Control Panel Intro Page (Figure 21b). It takes 15 to 60 minutes for a PROMAS upload to fully process. If the system has not finished processing the data, the user will see a "pending upload" message in Updates and Alerts (Figure 21c). If the PROMAS upload was initiated more than 60 to 90 minutes prior to logging on to the Control Panel, the user must click on the "Click here to clear pending upload" link to delete the unprocessed upload and then must upload data from PROMAS again.
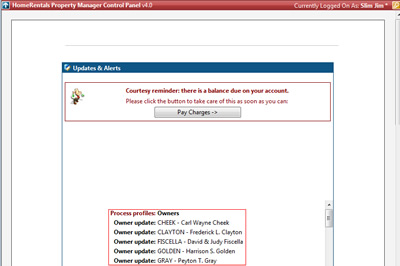
Figure 21b
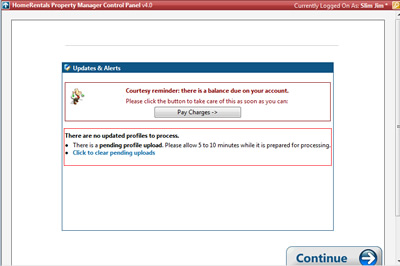
Figure 21c
Both PROMAS and Non-PROMAS users must configure profile authorizations either by assigning default authorizations, applying a batch authorization update, or by assigning authorizations individually. The default profile authorizations option is only available for PROMAS users.
All owner, tenant, vendor, and unit profiles are uploaded during the Synchronize Profiles with HomeRentals.net process. The user can only exclude profiles from the upload process by assigning them a category of "No Internet" in PROMAS.
Manual data entry
If a property management company does not use PROMAS, then owner, tenant and vendor profile data must be entered manually. Sources data must be entered manually by both PROMAS and non-PROMAS users.
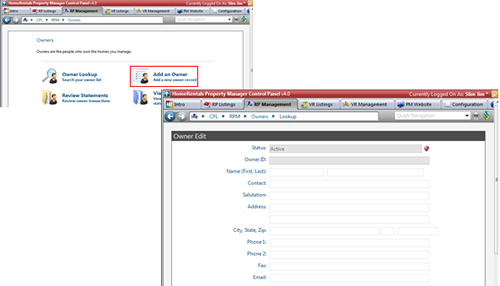
Figure 21d
| 1. | From the RP Management menu (Figure 21d) , select the profile type to be added (eg. Owners) and click on the "Add" option (eg. Owner - Add an Owner) to open the profile entry form. |
| 2. | Complete the online profile entry form (Figure 21d) and configure the profile authorizations. The RP Management System will automatically generate a profile ID when the entry is saved. |